


All photos ©Dara Hopkins- Fox & Feather Photography – Stealing is wrong and also mean.
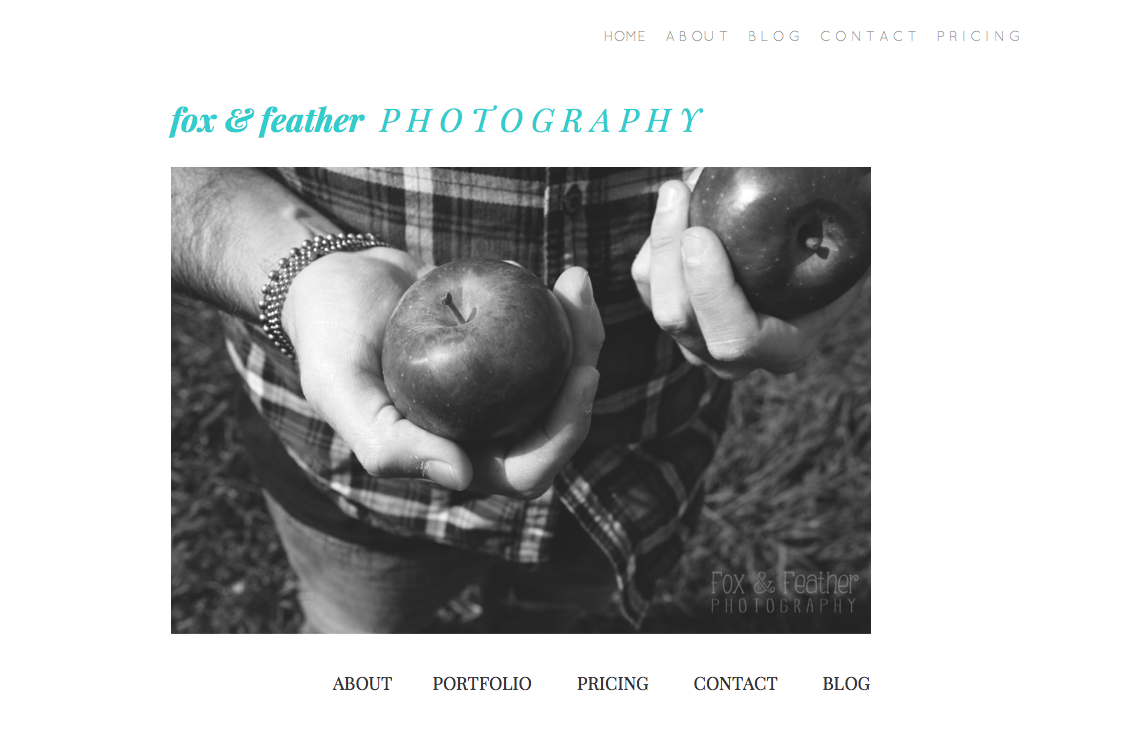
I have finally created a blog strictly for Photography. I had wanted to get everything cohesive with my company name, and I’ve finally got it going!! Introducing: fox & feather Photography’s New Site! Click the Image of the new Site … Continue reading
All photos ©Dara Hopkins- Fox & Feather Photography – Stealing is wrong and also mean.

This gallery contains 18 photos.
Harrison is 10 months old. Last time I “saw” him he was in mommy’s belly while we did her Maternity photos. He is such a ham and one of the happiest babies I’ve seen. He did so well … Continue reading

My first coffee of November.
I have never been a coffee person. I loved tea. I loved collecting tea, trying new teas and sipping a few cups daily. I don’t know when it happened, maybe when I discovered hazelnut creamer, but I am now a full blown coffee person. And not just the, “I need my coffee to function”, type of person. I actually enjoy sipping it slowly, especially on the weekends on the couch. {It makes not being at work that much sweeter}. I put on a Bowerbirds CD, “Upper Air” (highly recommended for weekend coffee sipping), and I really had a chance to relax with my coffee. Until of course, I liked the way it looked near the gourds so much, that I had to get up and get my camera.
—————————
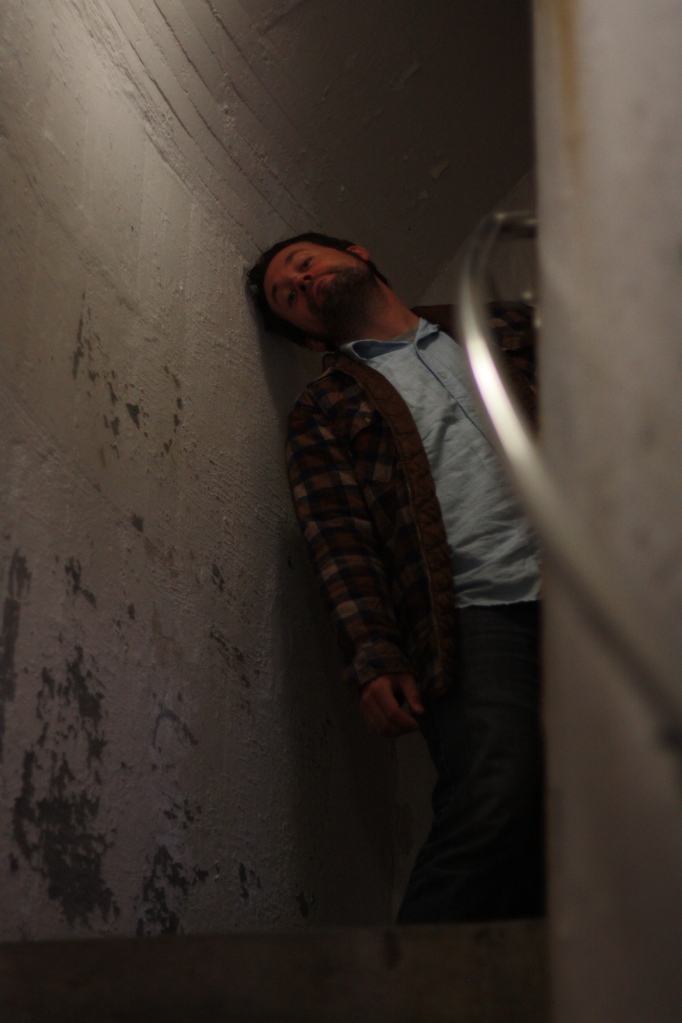
In other news, this past Sunday I had the honor of a return client! I had done Michelle’s maternity photos almost a year ago to the day. This time I was invited back to take some photos of little Harrison outside the womb. Along with his parents and their wonderful extended family.
There are a bunch of awesome photos to go through, but I wanted to throw this one up as a little teaser. :)
Enjoy and keep watch for the whole set soon!

I still owe you the rest of our Anniversary Photos. :) But for now, a non-photography post! Gasp!
I borrowed the idea for this post from Danielle!!
It’s pretty much a list of things that I do not like that everyone else finds me weird for not liking. Ian noticed that I make a weird scrunched up disgusted face when any of these things are suggested to me (especially foods). Even if i had a photo of this hideous facial expression, there is no way in hell it’s going up on the internet. So there!
Feel free to yell at me in the comments. :D
Or if you do your own list, link me up!


These were from a family vacation to Massachusetts last year. The lake, the mountain air, oh how I miss it! Also, if you didn’t notice, I gave myself yet another name & logo. Trying a few out before I stick to one! (I might just be addicted to making logos…..)


Taken at my nephew’s 6th Birthday party. I was in heaven with all these little ones around. :)
Last weekend was GORGEOUS outside.. so i decided to grab my camera, a lens and I went for a nice little walk.
Well… Practically 5 miles later I’m trudging through the front door, out of breath, camera dangling precariously from my neck, shoes filled with gravel. I was done with walks, and “nice” days! ha! Just kidding of course. Please sun, come back and stick around longer this time? Oil costs too much and I just want my house warm!
Anyway.. here are some of my shots from the walk:
Upper Greenwood Lake

Our First little crocus popping its head up for the Spring season!
A whole bunch of crocuses down the road .. growing in GRAVEL. What gives? Whats wrong with our nice soil!


